
Lot’s of people having problem in setting up D-Link modem/router with Reliance Broadband. To help those friends, here is a procedure to set up your router:
Procedure:
Let’s take the modem out of the box and make this thing work.
- Things required:
- The modem itself
 Figure 01: D-Link Port Indicator
(1)Power indicator ; (2) LAN port 1; (3) LAN port 2; (4) LAN port 3; (5)LAN port 4; (6) Wifi indicator; (7)Push Wifi indicator; (8)USB indicator; (9) ADSL link indicator; (10)ADSL internet Indicator
- A telephone-cable/(RJ 11) coming out of the telephone Port
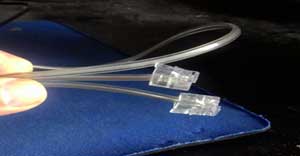
Figure 02: Telephone cable(RJ 11)
- A cat 5/RJ45 /Ethernet to go into your computer
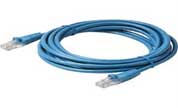
Figure 03: RJ45 cable
2. Now, plugged power cable into power socket and we are all set.
3. Now connect your RJ11 wire to Telephone Port and ADSL port of Modem(DSL written in Below Image)
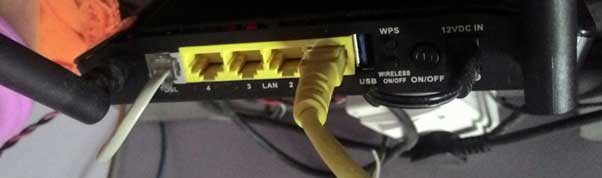
Figure 04: Modem
- When Power is ON and ADSL cable(telephone cable) is connected (D-Link Port Indicator -1 light will be ON) with D-Link Port Indicator 9 ON)
- Now connect LAN cable(RJ45) from any yellow port to your laptop/Desktop, your system will automatic get IP (mostly in 192.168.1.X)
- Open this page in your browser : http://192 dot 16 dot 1.1/
- You will be prompted for a user name and password and both user name and password are : admin and password will be admin
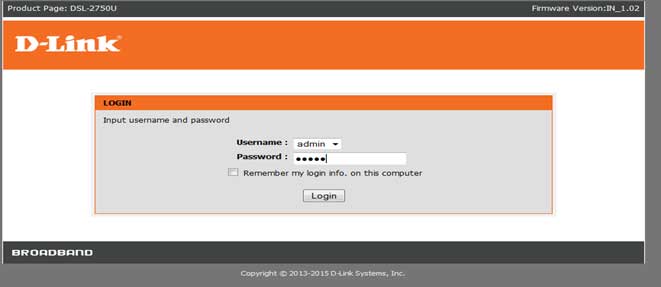 Figure 05: D-Link Login page
- Once you Logged in you will get below page:
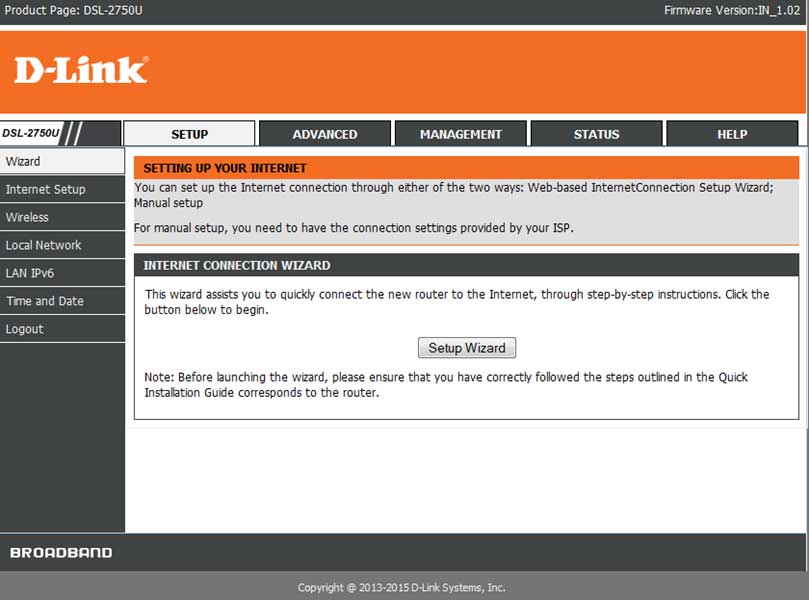
Figure 06: D-Link Setup page
- Click on the Internet setup link on the left hand side
- Click on Add button ( first time you will not see any DSL setup entries)
 Figure 07: D-Link Setup page
- After clicking on Add button, you will see below screen:

Figure 08: D-Link Setup page
- Fill all values as given in above screenshot.
- Now again Add below entries by selecting ADD button (creating 2nd )
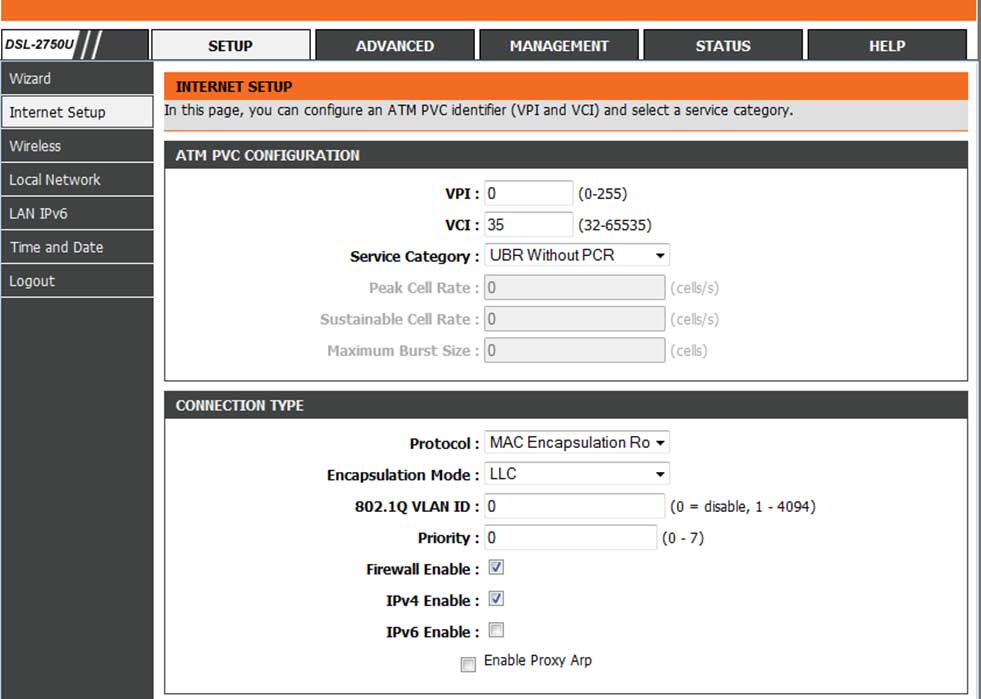
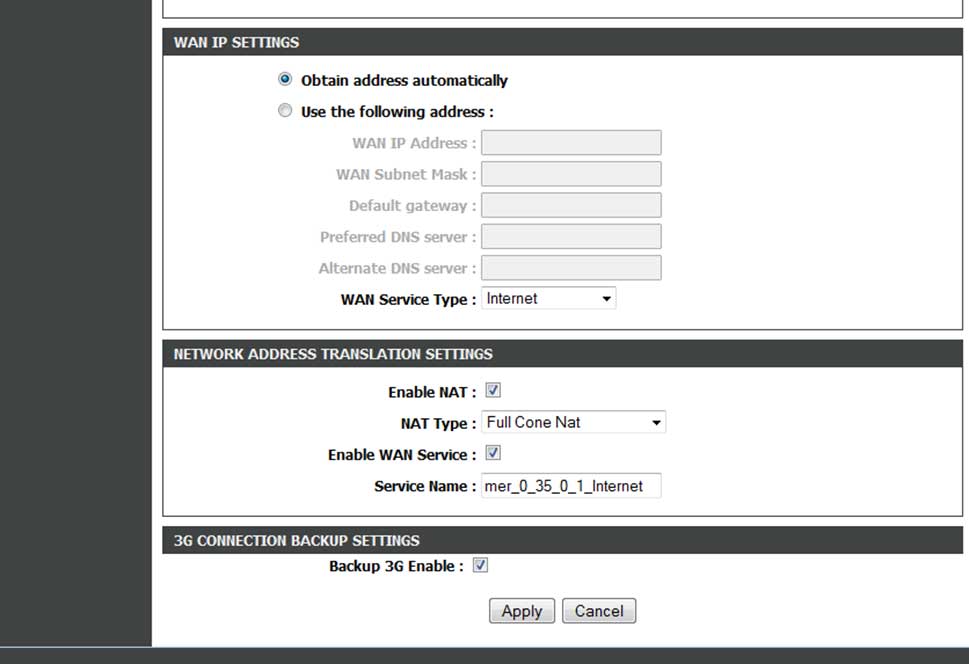
Figure 09: D-Link Setup page
- Click Apply.
- Next you will see these two setting on Internet Setup page

Figure 10: D-Link Setup page
16. Now go to Advance → Network Tools → ADSL
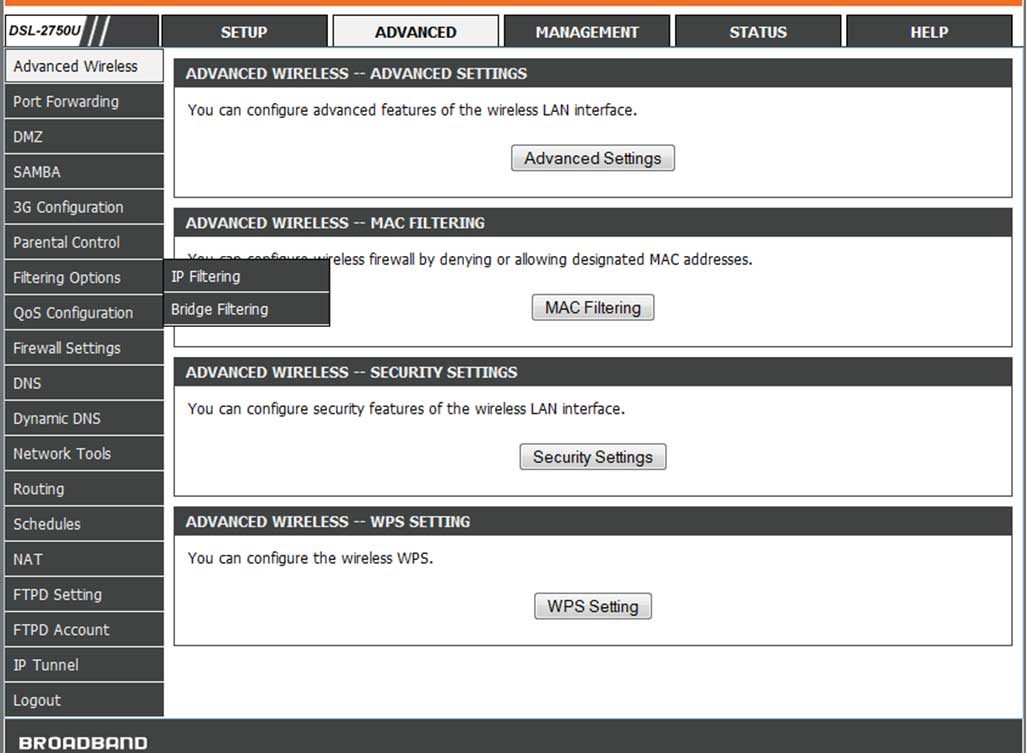 Figure 11: D-Link Advanced page
- Please set the configuration like this:
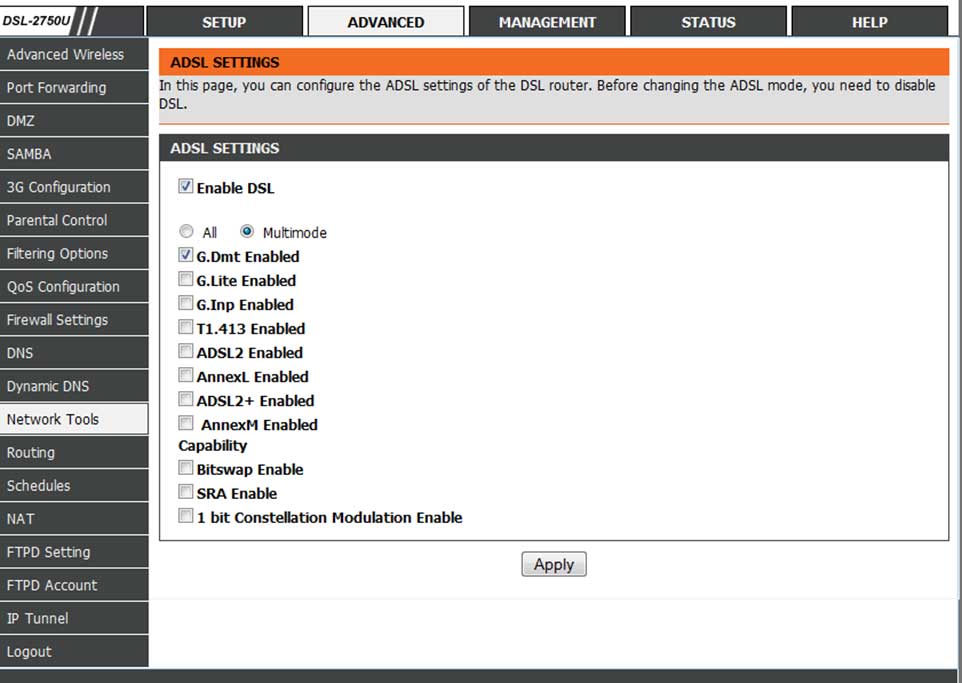 Figure 12: D-Link Advanced page
- Now go to Advance → DNS, set property as shown in below image then click Apply.
 Figure 13: D-Link Advanced page
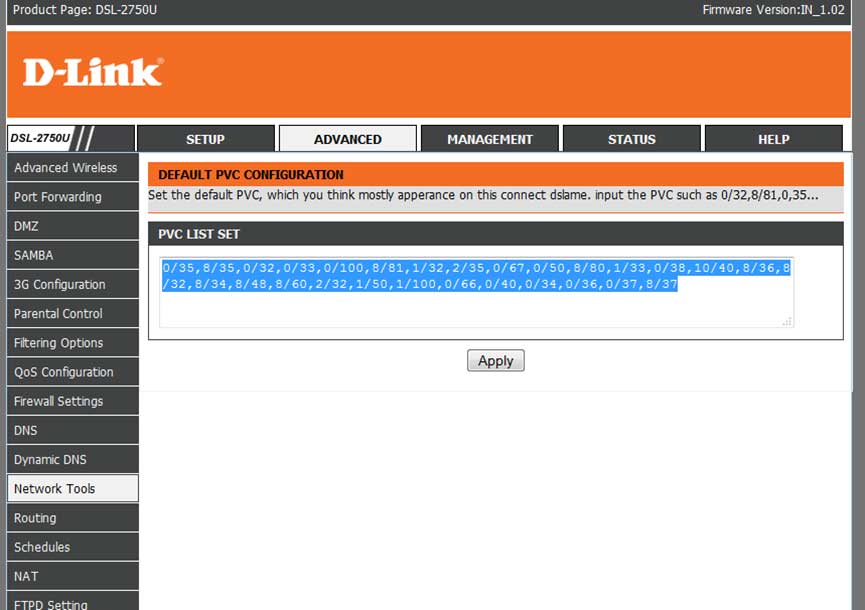
Figure 14: D-Link Advanced page
0/35,8/35,0/32,0/33,0/100,8/81,1/32,2/35,0/67,0/50,8/80,1/33,0/38,10/40,8/36,8/32,8/34,8/48,8/60,2/32,1/50,1/100,0/66,0/40,0/34,0/36,0/37,8/37
That’s done.
- Setup your own Wireless environment /LAN
- Now you already connected to Modem through RJ45 Cable, next
- Open www.reliancebroadband.co.in
- You will be redirect to Reliance Broadband Webpage
- Enter your username and password, after which you will get connected to internet
- Connect your smart phone and Tablets through WiFi they all can access internet
Remember you can set any router for auto dialing Reliance Broadband connection, hence just open www.reliancebroadband.co.in from any connected device and do web dialing.
Article (Technical) written by Suchint Kotia